Assignment #1:
Photography Composition
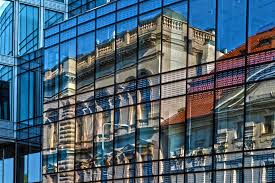
Part 1: Elements of Design
Assigned: September 5th 2019
Your mission is to create a unified layout of 6 PHOTOGRAPHS that demonstrates each of the elements of composition/design. You may be as creative as you like. This is a multi-day assignment so think about how you want to your final page to appear. If there is something that you think needs to be done to the photos and you don’t know how to do it, just ask (the internet and your peers are great resources for helping).
- Using the Internet or photographs you took yourself, find examples of photography which apply to the following terms.
- COLOUR
- LINE
- FORM
- SHAPE
- TONE
- TEXTURE
- Collect all 6 (or more) images before opening photoshop!
- Copy and Paste them into a letter size Photoshop document.
- Please label photos. (use any advanced PhotoShop skills you have.) (300 resolution)
- Create a unified layout of all 6 images (one for each element) considering how all the photographs work together for a cohesive composition.
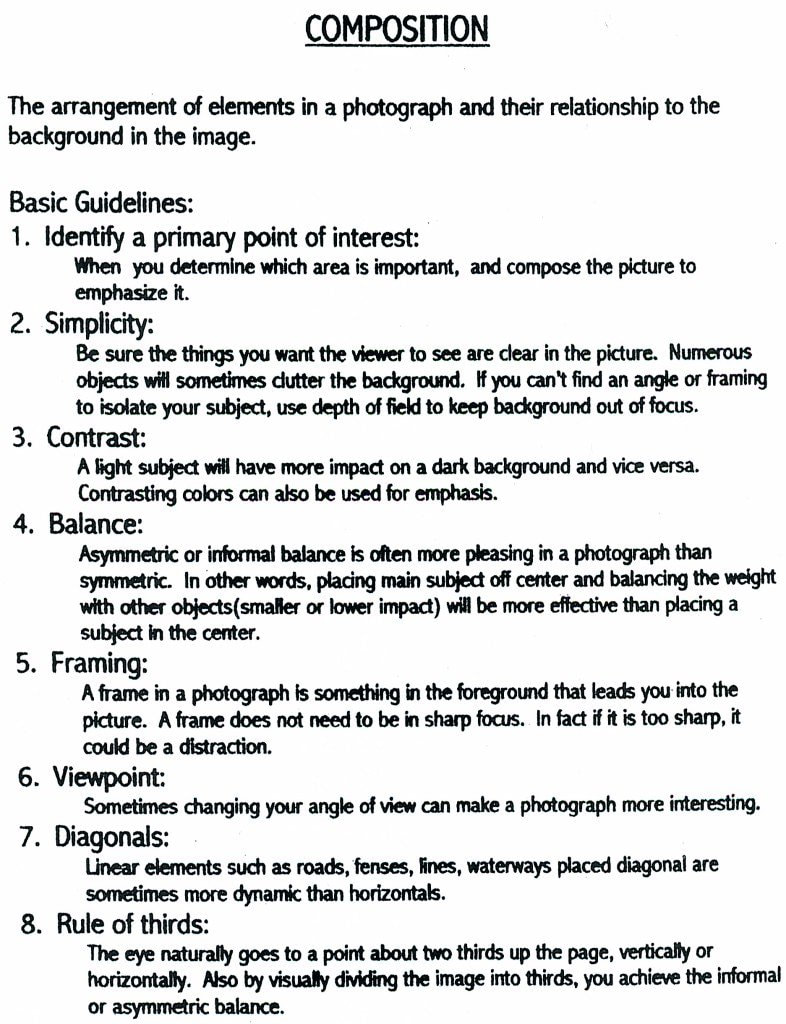
Part 2: Principles of Composition
Assigned September 6th, 2019
Your mission is to find photographs (images) from magazines that demonstrate the Principles of Composition. There are 13 Principles- for this assignment find examples of 6 different principles:
Pattern/Repetition
Emphasis/Focal point
Balance
Movement
Unity
Contrast
Pattern/Repetition
Emphasis/Focal point
Balance
Movement
Unity
Contrast
- Search through the magazines provided. When you see a photo you like, ask yourself which principle of composition the photograph is predominantly executing.
- NEATLY cut out the photo from the magazine. Your goal is to have clean and even edges. Please use scissors and precision knives with care and safety.
- Once you have gathered 6 images representing 6 different principled, arranged the cutouts on the black paper provided. depending on the size of your images, you may need more than one paper.
- In pencil, neatly label each image with its corresponding Principle of Composition (don't forget your name).
Part 3: Photographing the Elements and Principles of Design
Assigned Sept. 11, 2019
Step 1: Now that you're familiar with the elements and principles of design, it's your turn to take some photographs. Each student is responsible for photographing their own subject matter, one for each element and principle.
Step 2: You will upload your photographs to your drive. You may edit photographs in photoshop if like but it is not required. CREATE TWO LAYOUTS. One layout for Elements and One layout for Principles. Be as creative as you like. Please LABEL ALL PHOTOGRAPHS with the corresponding element and principle.
Step 2: You will upload your photographs to your drive. You may edit photographs in photoshop if like but it is not required. CREATE TWO LAYOUTS. One layout for Elements and One layout for Principles. Be as creative as you like. Please LABEL ALL PHOTOGRAPHS with the corresponding element and principle.
|
Elements
|
Principles
|
Assignment #2:
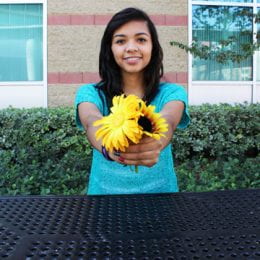
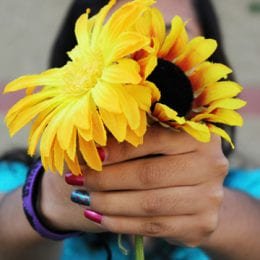
Aperture and Depth of Field
Assigned Sept. 13th
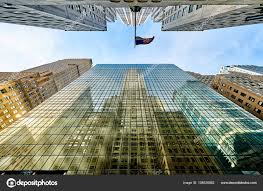
Explore the relationship between apertureand depth of field.The main function of a camera lens is to collect light. The aperture of a lens is the diameter of the lens opening and is usually controlled by an iris. A larger diameter of the aperture, allows more light to reach the image sensor.The objective of this assignment is to get you familiarized with aperture. Beware of long shutter speeds with small aperture, you may need to raise your ISO…
Aperture is expressed as F-stop, e.g. F2.8 or f/2.8. The smaller the F-stop number (or f/value), the larger the lens opening (aperture).
Read these two links:
http://www.macworld.com/article/1150150/depthoffield.html http://www.digitalcameraworld.com/2013/07/17/what-is-depth-of-field-how-aperture-focal-length-and-focus-control-whats-sharp/
- Go outside and take two photographs of the same subject, trying to get two different depth of fields. Remember to first format the memory card, set WB to auto and ISO to 400, and be on Manual focusing. You will set the camera mode to AV (aperture priority). Make sure to focus on the same subject for both shots you take.
- In Photo #1, you will get a shallow depth of field. Zoom out to the longest focal length of the lens which is 55mm. Set the aperture on f5.6 (the widest aperture at 55mm) and take note of what the camera sets the shutter speed at. Make sure it is not below 60th of a second. Get in good and close to your subject
- In Photo #2, you will get a good depth of field. Put your lens at 18mm ( which is the widest lens mm on your lens). Set your aperture at f20, and take note of what the camera sets the shutter speed at. Make sure it is not below 60th of a second, or open up the aperture to f11. Stay a bit further back to get a better depth of field.
- Repeat the depth of field activity 2-3 times to make sure you get it right.
- In the lab, edit your photos for maximum impact and post each one (good and shallow depth of field) to your blog as the large photo. Include the technical info in the caption section of each (Mode, ISO, Shutter speed, Fstop, Focal length of lens.
- Submit 2 examples of shallow depth of field and 2 examples of Deep depth of field. Label and state the aperture you used for each shot.
|
|

|
|
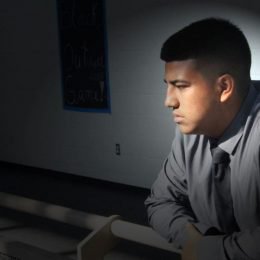
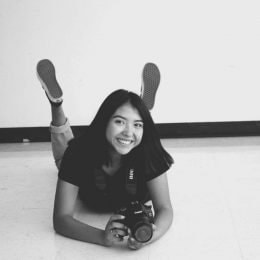
Assignment #3:
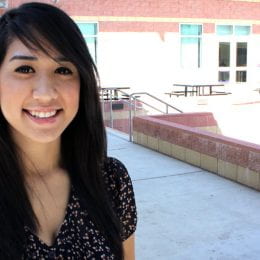
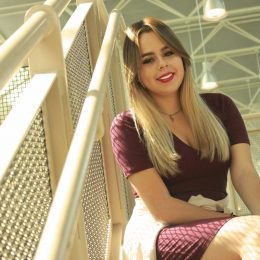
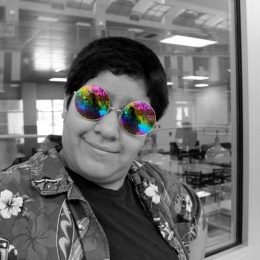
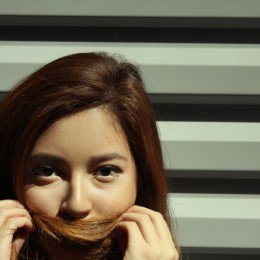
ISO Portrait with Natural Lighting
Take at least 10 portraits of a classmate on location using natural light
In the comments section:
Video Links:
What is ISO?:
https://www.youtube.com/watch?v=ouz3Hrg_iQU
An Introduction to Natural Light Portraiture: https://www.bhphotovideo.com/explora/photography/tips-and-solutions/an-introduction-to-natural-light-portraiture
Photoshop for Beginners:
https://helpx.adobe.com/photoshop/how-to/ps-basics-fundamentals.html
- Think about exposure, lighting, composition, posing and expression.
- Take 2 correctly exposed portraits in a room or area with low light. You will have to utilize higher ISOs in order to get thess image (800 and up). Try setting your ISO to 1600 or 3200 so your shutter speed does not go below 60th of a second. Open your aperture up as wide as it will go.
- Take 2 correctly exposed portraits in an area that is well lit, using more “normal” or lower ISO’s (100-400).
- Edit your photos to look their best using Photoshop or other editing software of your choice.
- Upload your edited 4-10 (minimum 4) photos to freshgrade under the assignment heading.
In the comments section:
- Number and label your photos as High or Low ISO
- List what ISO setting you used for each of your finished photographs.
- Describe the environments you took the photos in and how you had to manipulate ISO in order to correctly expose your subject in these environments.
- Critique: Find an on-location portrait online with natural lighting. Post that photo and make a list of 25 words or phrases you think of when you look at this photo. Include the photographers name if possible.
Video Links:
What is ISO?:
https://www.youtube.com/watch?v=ouz3Hrg_iQU
An Introduction to Natural Light Portraiture: https://www.bhphotovideo.com/explora/photography/tips-and-solutions/an-introduction-to-natural-light-portraiture
Photoshop for Beginners:
https://helpx.adobe.com/photoshop/how-to/ps-basics-fundamentals.html
|
|

|
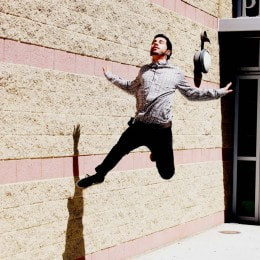
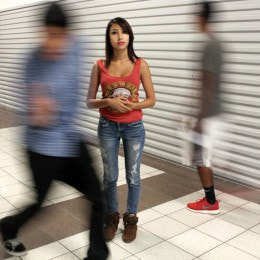
Assignment #4
CAPTURING ACTION AND MOTION IN PHOTOGRAPHY
Read these online article about capturing action and motion photography:
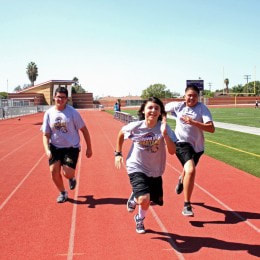
http://www.digital-photo-secrets.com/tip/50/freezing-the-action/
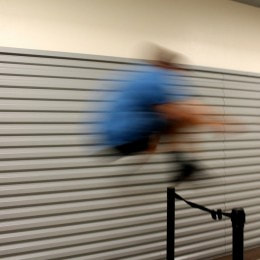
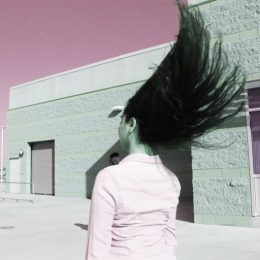
http://digital-photography-school.com/how-to-capture-motion-blur-in-photography/
What is due? 20 photos. 10 photos with a long shutter speed and 10 photos using a fast shutter speed. Submit your favourite 2 photo's using long shutter speed and 2 using fast shutter speed (edited in photoshop).
Submit a minimum of 4 photographs for this assignment.
Objective: Use shutter speed as a means of creativity.
The purpose of this assignment is to help you think of how you can use shutter speed to create unique effects in your photographs. You will most likely need a partner and a tripod for this assignment (and a camera, of course!). Use Shutter Priority Mode (TV) and Auto ISO so that you can focus on setting your shutter speed. Do a good job! Consider lighting, composition, background, etc.
http://www.digital-photo-secrets.com/tip/50/freezing-the-action/
http://digital-photography-school.com/how-to-capture-motion-blur-in-photography/
What is due? 20 photos. 10 photos with a long shutter speed and 10 photos using a fast shutter speed. Submit your favourite 2 photo's using long shutter speed and 2 using fast shutter speed (edited in photoshop).
Submit a minimum of 4 photographs for this assignment.
Objective: Use shutter speed as a means of creativity.
The purpose of this assignment is to help you think of how you can use shutter speed to create unique effects in your photographs. You will most likely need a partner and a tripod for this assignment (and a camera, of course!). Use Shutter Priority Mode (TV) and Auto ISO so that you can focus on setting your shutter speed. Do a good job! Consider lighting, composition, background, etc.
|

|
Project #1
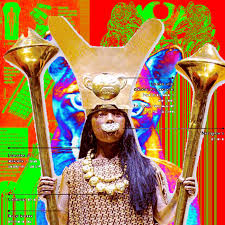
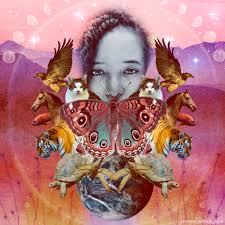
DIGITAL COLLAGE: ALL ABOUT ME
Assigned: October 2nd
Due: October 9th
Gather imagery online that represents at least five things about yourself. Include one image of yourself (old or new.
pick a colour scheme and theme.
-In Photoshop, make an 8×10 or 10×8 @150 resolution document and title it All About Me Collage
-Select elements from the Internet images to move into your collage. (create a folder for your images, be organized)
-After you get a good selection with the magic wand or magnetic lasso, remember to go in Mask and refine your selection. If you want soft edges you will go to select>modify>feather.
-Think about rules of good composition when designing your layout of elements and background
-Move layers around from the layer palette, if you want to change what is on top of another element.
-To blend layers for a unique effect, you use the move tool and use Shift+ to scroll through blend modes.
-Save your work as a psd until you are completely done with it, and then save as a jpeg to post to your SWAY portfolio.
Reflection: In full sentences (paragraphs) answer the following questions:
|
|
|